Xcode Integration
Protect your app automatically every time you Archive in Xcode. No changes to your source code — just a post-archive script.
Prerequisites
Install Shield iOS using one of the supported methods:
# Homebrew (recommended on macOS)
brew install bytehide/tap/shield-ios

# or pip
pip install bytehide-shield-ios
# Homebrew (recommended on macOS)
brew install bytehide/tap/shield-ios
# or pip
pip install bytehide-shield-iosAutomatic Setup
The fastest way — one command configures everything:
bash <(curl -sL https://raw.githubusercontent.com/bytehide/shield-ios/main/scripts/setup.sh)bash <(curl -sL https://raw.githubusercontent.com/bytehide/shield-ios/main/scripts/setup.sh)This installs Shield, creates shield-ios.json, and adds the post-archive action automatically. See Automatic Setup for details.
Manual Setup (2 Steps)
1. Add Post-Archive Action
- Open your project in Xcode
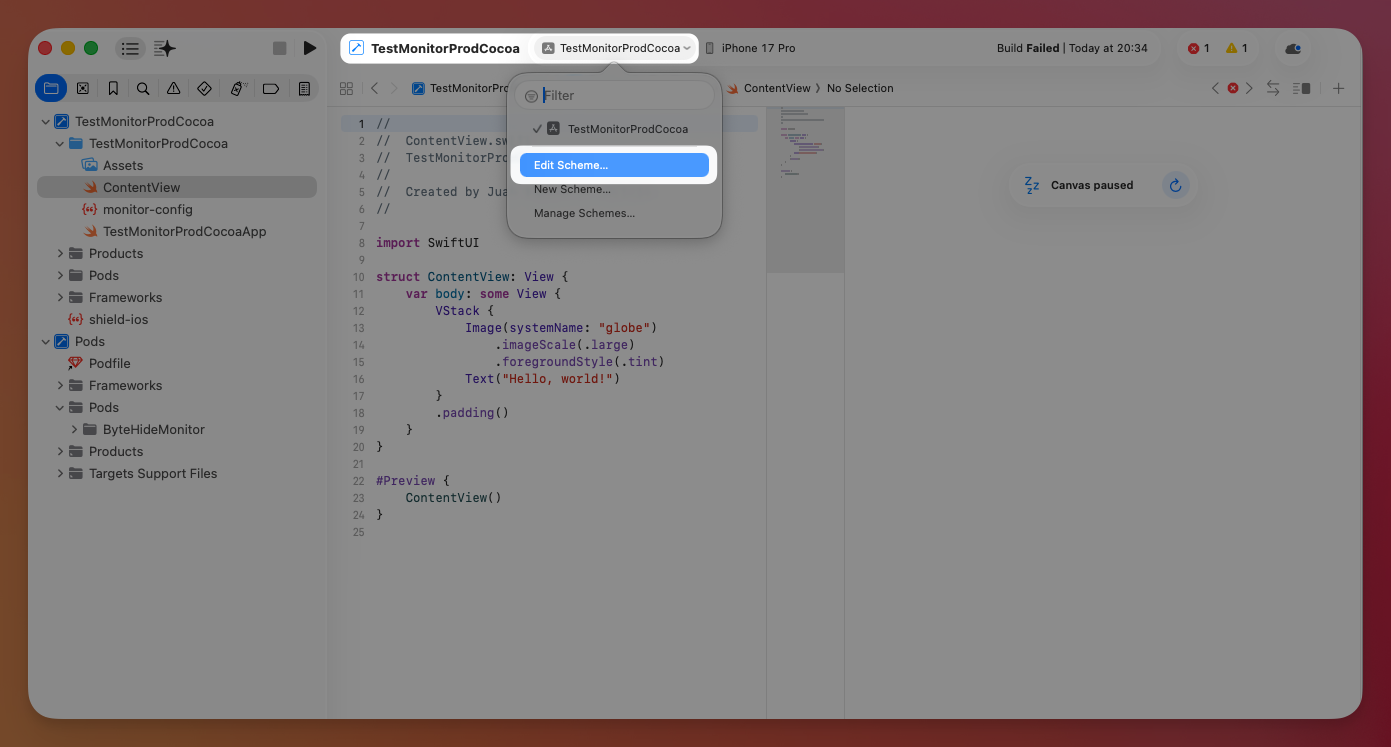
- Go to Product > Scheme > Edit Scheme... (or
Cmd+<)
 Click to expand
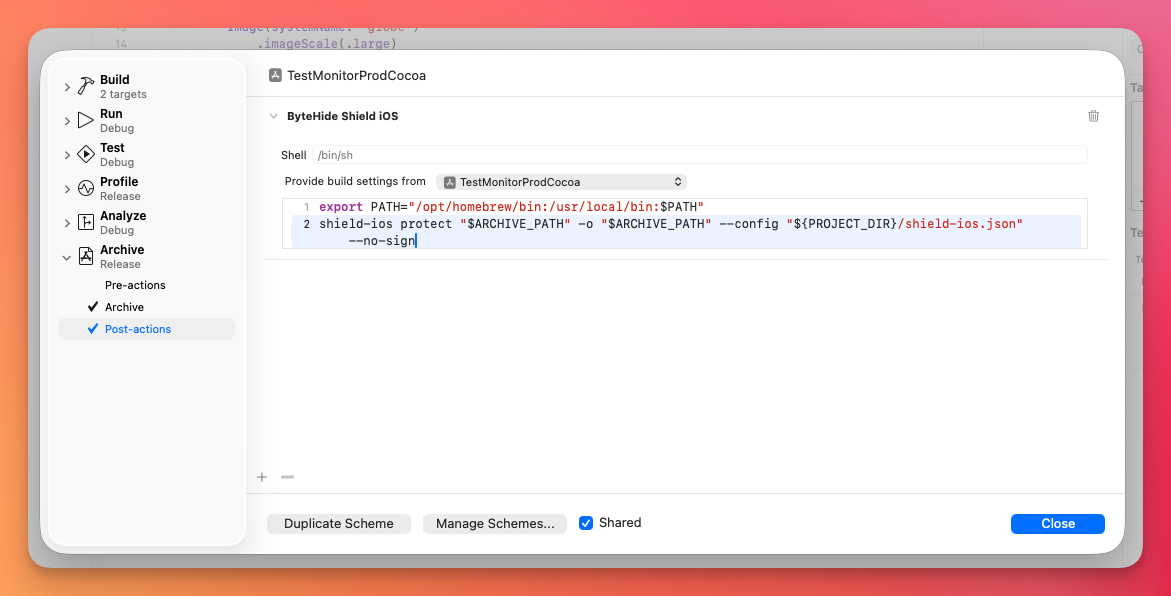
- Select Archive > Post-actions
- Click + > New Run Script Action
 Click to expand
- Set "Provide build settings from" to your app target
- Paste:
export PATH="/opt/homebrew/bin:/usr/local/bin:$PATH"
shield-ios protect "$ARCHIVE_PATH" -o "$ARCHIVE_PATH" --no-sign
export PATH="/opt/homebrew/bin:/usr/local/bin:$PATH"
shield-ios protect "$ARCHIVE_PATH" -o "$ARCHIVE_PATH" --no-sign2. Add Configuration (optional)
For custom protections, create a shield-ios.json in your project root:
shield-ios initshield-ios initThen update the post-archive script to use it:
export PATH="/opt/homebrew/bin:/usr/local/bin:$PATH"
shield-ios protect "$ARCHIVE_PATH" -o "$ARCHIVE_PATH" --config "${PROJECT_DIR}/shield-ios.json" --no-sign
export PATH="/opt/homebrew/bin:/usr/local/bin:$PATH"
shield-ios protect "$ARCHIVE_PATH" -o "$ARCHIVE_PATH" --config "${PROJECT_DIR}/shield-ios.json" --no-signThat's it. Every time you Archive (Product > Archive), Shield protects your app automatically.
 Click to expand
How It Works
--no-sign is used because Xcode handles code signing when you distribute from the Organizer or use xcodebuild -exportArchive.
Debug Build Integration
You can also protect your app during debug builds (Cmd+R) by adding a Run Script Build Phase. This lets you test protections with the Xcode debugger attached, so crash logs appear directly in the Xcode console.
Setup
- Open your project in Xcode
- Select your app target > Build Phases
- Click + > New Run Script Phase
- Drag it after "Compile Sources" and "Link Binary With Libraries"
- Paste:
if [ "$CONFIGURATION" = "Debug" ]; then
    export PATH="/opt/homebrew/bin:/usr/local/bin:$PATH"
    shield-ios protect "$CODESIGNING_FOLDER_PATH" \
        -o "$CODESIGNING_FOLDER_PATH" \
        --config "${PROJECT_DIR}/shield-ios.json" \
        --no-sign
fi
if [ "$CONFIGURATION" = "Debug" ]; then
export PATH="/opt/homebrew/bin:/usr/local/bin:$PATH"
shield-ios protect "$CODESIGNING_FOLDER_PATH" \
-o "$CODESIGNING_FOLDER_PATH" \
--config "${PROJECT_DIR}/shield-ios.json" \
--no-sign
fiHow It Works
Important Notes
Disable anti_debug
When using Debug Build Integration, you must disable anti_debug in your debug configuration. Otherwise, the debugger won't be able to attach to the app.
Use a separate config for debug builds:
{
  "protections": {
    "anti_debug": false,
    "string_encryption": true,
    "symbol_renaming": true,
    "control_flow": "light"
  }
}
{
"protections": {
"anti_debug": false,
"string_encryption": true,
"symbol_renaming": true,
"control_flow": "light"
}
}- The
$CONFIGURATIONcheck ensures Shield only runs on Debug builds. Remove theifblock to run on all configurations. - This modifies the
.appin-place, with no temp files or repacking. - For a comprehensive guide on testing protected builds, see Debug & Testing.
CI/CD with xcodebuild
For automated builds, call shield-ios between archive and exportArchive:
# 1. Build the archive
xcodebuild archive \
  -project MyApp.xcodeproj \
  -scheme MyApp \
  -archivePath build/MyApp.xcarchive

# 2. Protect the archive
shield-ios protect build/MyApp.xcarchive \
  -o build/MyApp.xcarchive \
  --config shield-ios.json \
  --no-sign

# 3. Export to IPA (Xcode signs here)
xcodebuild -exportArchive \
  -archivePath build/MyApp.xcarchive \
  -exportOptionsPlist ExportOptions.plist \
  -exportPath build/output
# 1. Build the archive
xcodebuild archive \
-project MyApp.xcodeproj \
-scheme MyApp \
-archivePath build/MyApp.xcarchive
# 2. Protect the archive
shield-ios protect build/MyApp.xcarchive \
-o build/MyApp.xcarchive \
--config shield-ios.json \
--no-sign
# 3. Export to IPA (Xcode signs here)
xcodebuild -exportArchive \
-archivePath build/MyApp.xcarchive \
-exportOptionsPlist ExportOptions.plist \
-exportPath build/outputConfiguration
See Configuration Reference for all available protections and configuration options.
Example shield-ios.json:
{
  "projectToken": "bh_YOUR_TOKEN",
  "protections": {
    "anti_debug": true,
    "anti_jailbreak": true,
    "string_encryption": true,
    "symbol_renaming": true,
    "control_flow": "medium"
  }
}
{
"projectToken": "bh_YOUR_TOKEN",
"protections": {
"anti_debug": true,
"anti_jailbreak": true,
"string_encryption": true,
"symbol_renaming": true,
"control_flow": "medium"
}
}Project Structure
MyApp/
├── MyApp.xcodeproj
├── MyApp/
│   ├── AppDelegate.swift
│   └── ...
└── shield-ios.json       <-- optional config
MyApp/
├── MyApp.xcodeproj
├── MyApp/
│ ├── AppDelegate.swift
│ └── ...
└── shield-ios.json <-- optional configNo extra scripts or build phases needed — just the post-archive action in your scheme.
Troubleshooting
"shield-ios: command not found" in Post-Archive Action
Xcode post-actions have a minimal PATH. Make sure the first line exports the correct paths:
export PATH="/opt/homebrew/bin:/usr/local/bin:$HOME/.local/bin:$PATH"export PATH="/opt/homebrew/bin:/usr/local/bin:$HOME/.local/bin:$PATH"Check where shield-ios is installed:
which shield-ioswhich shield-iosIf you installed with a specific Python version:
export PATH="/opt/homebrew/bin:/usr/local/bin:$HOME/Library/Python/3.12/bin:$PATH"export PATH="/opt/homebrew/bin:/usr/local/bin:$HOME/Library/Python/3.12/bin:$PATH"Post-Archive Action doesn't run
- Make sure "Provide build settings from" is set to your app target (not "None")
- Post-actions only run on Archive (
Product > Archive), not regular builds (Cmd+B)
"No .app found inside xcarchive"
The archive may have failed before producing a valid .app. Check that the archive step succeeds before Shield runs.
Protection seems to have no effect
- Post-actions only run during Archive, not Debug/Run builds
- To verify: add
echo "Shield ran at $(date)" > /tmp/shield-check.txtto the post-action and check if the file appears
Code signing errors when distributing
Always use --no-sign in the post-archive action. Xcode handles signing when you distribute from Organizer or xcodebuild -exportArchive.
Next Steps
Configuration Reference
Full configuration options
Fastlane Plugin
CI/CD with Fastlane
CI/CD Integration
GitHub Actions, GitLab CI, and more