Project Token
The project token connects your Shield builds to the ByteHide Cloud Panel. It is required for license validation, build analytics, and stack trace deobfuscation.
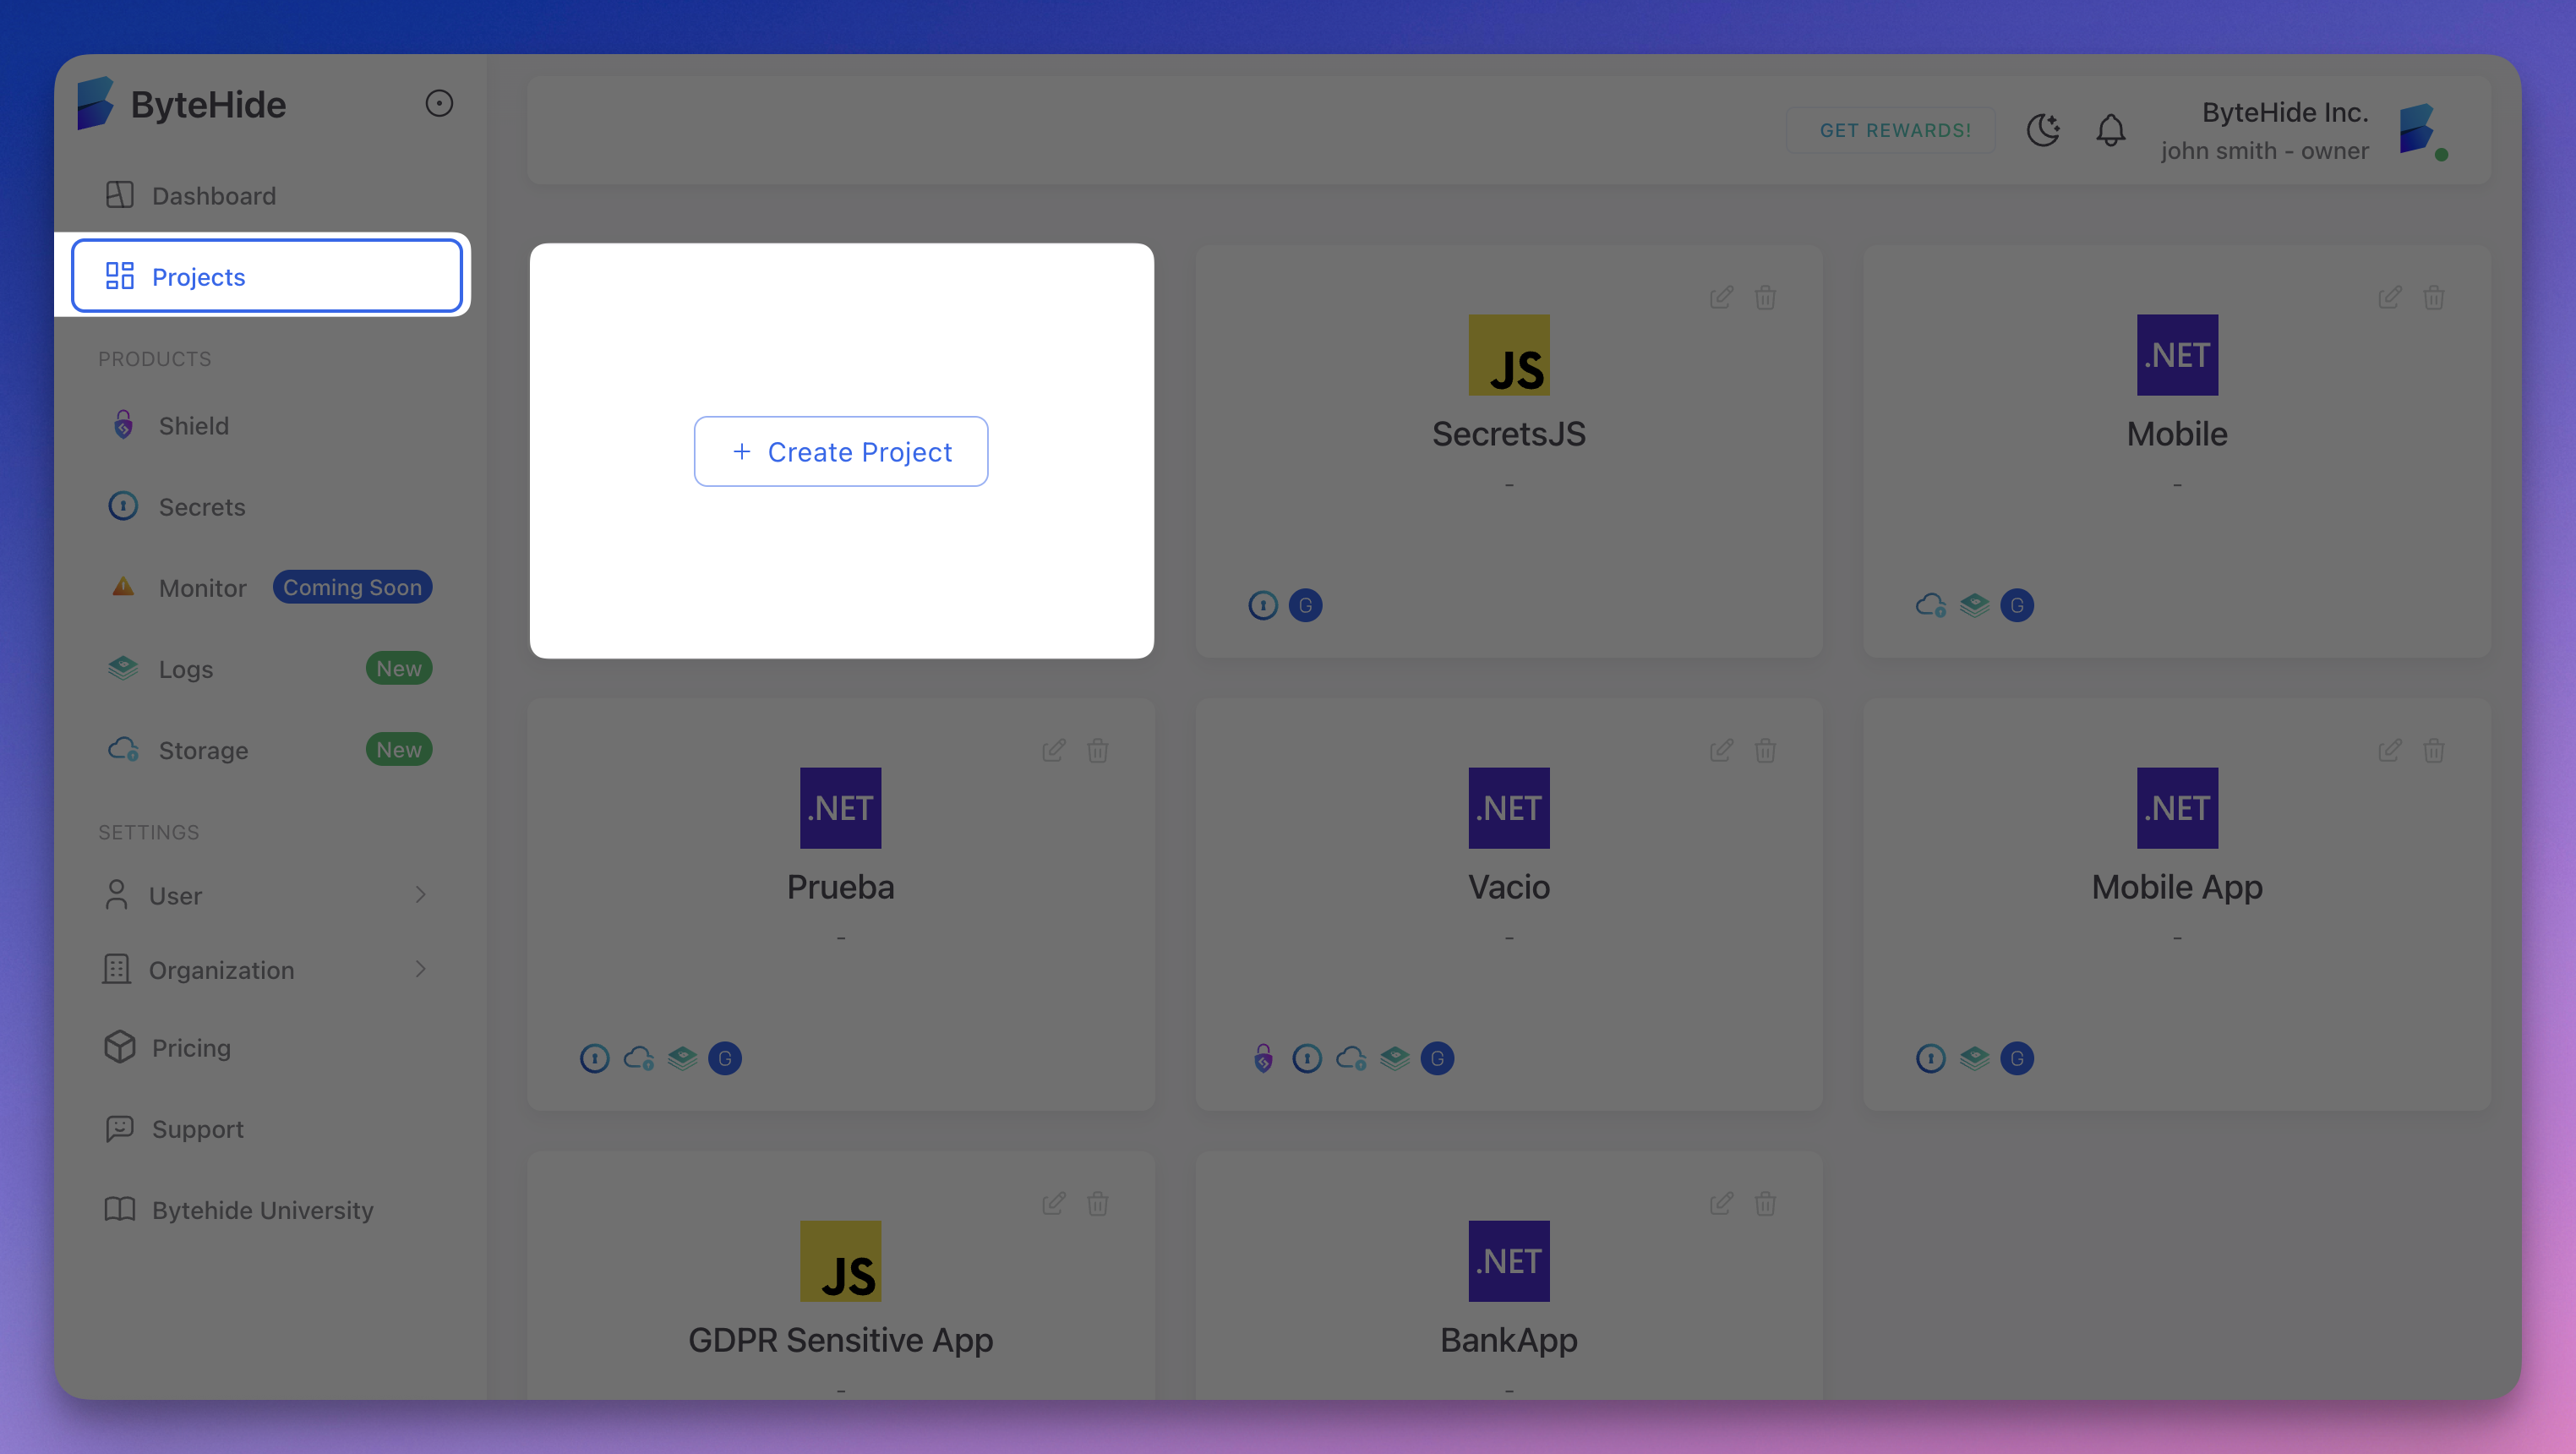
Create Your Project
Sign in to the ByteHide Cloud Panel and navigate to Projects. Click + Create Project to start.
 Click to expand
Select Shield
In the project creation screen:
- Choose your language — select the platform for your app
- Choose tools — select Shield
- Name your project — enter a descriptive name for your iOS app
- Assign a team (optional)
- Click Create project
 Click to expand
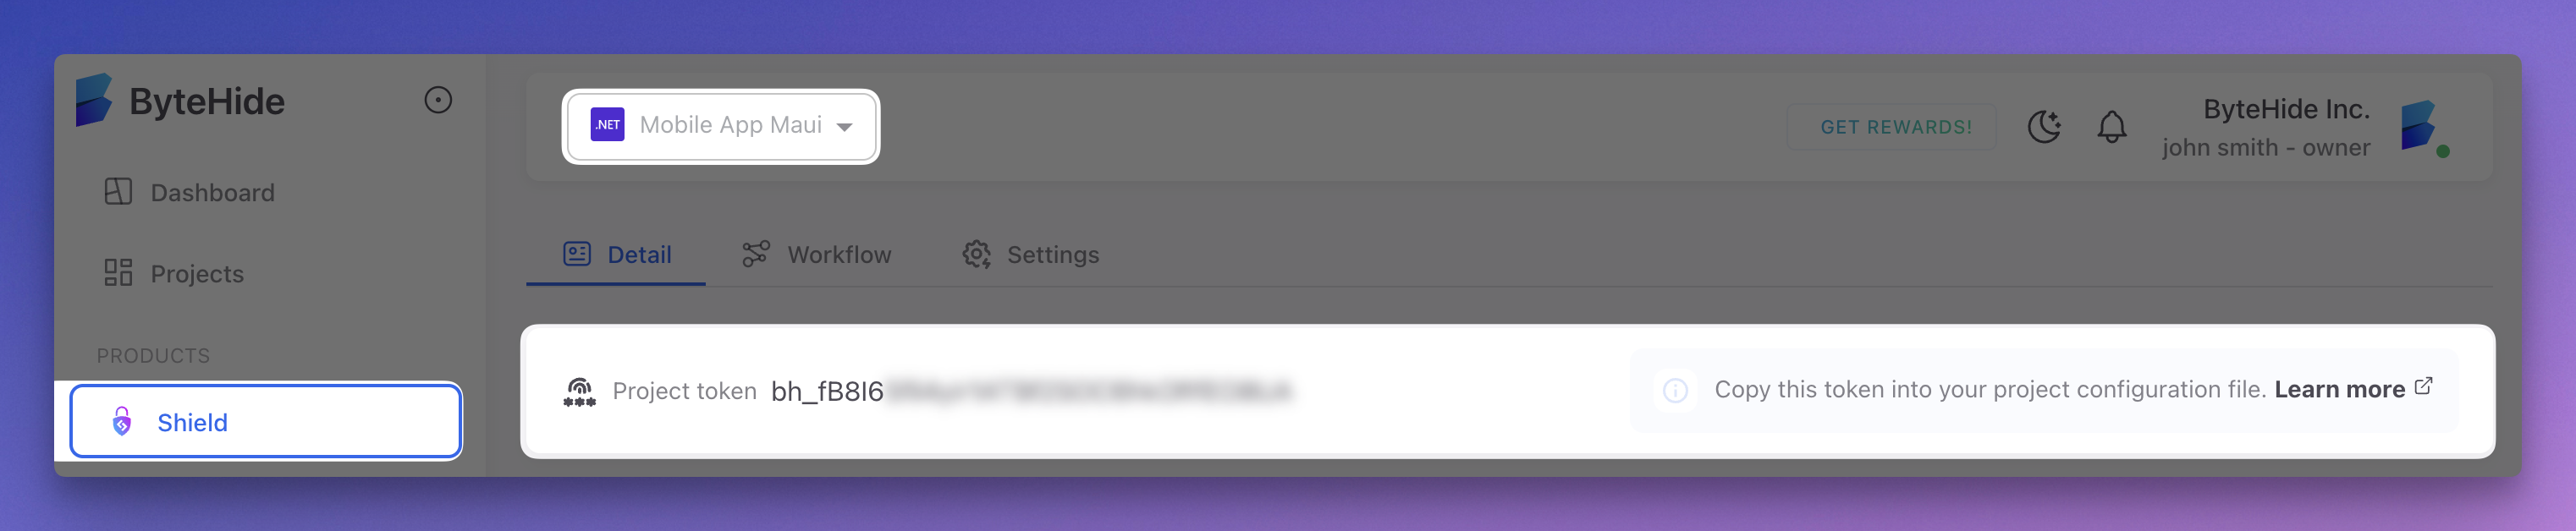
Copy Your Token
Once the project is created, your project token is displayed at the top of the project dashboard. It starts with bh_. Click it to copy.
 Click to expand
Configure the Token
In shield-ios.json (Recommended)
Add your project token to the configuration file:
{
  "projectToken": "bh_YOUR_TOKEN",
  "protections": {
    "symbol_renaming": true,
    "string_encryption": true
  }
}
{
"projectToken": "bh_YOUR_TOKEN",
"protections": {
"symbol_renaming": true,
"string_encryption": true
}
}Using the automatic setup script?
If you ran the setup script, it already asked for your token and added it to shield-ios.json for you.
Via Environment Variable
You can also pass the token as an environment variable, useful for CI/CD pipelines:
export SHIELD_PROJECT_TOKEN="bh_YOUR_TOKEN"
shield-ios protect MyApp.ipa --config shield-ios.json
export SHIELD_PROJECT_TOKEN="bh_YOUR_TOKEN"
shield-ios protect MyApp.ipa --config shield-ios.jsonThe environment variable takes priority over the projectToken field in shield-ios.json.
Token Security
Your project token identifies your project but does not grant access to your source code or binaries. It is safe to include in shield-ios.json committed to version control, though using environment variables is recommended as a best practice for CI/CD.
Related
- Quick Start - Protect your first application
- Cloud Integration - How builds connect to the Cloud Panel
- CI/CD Integration - Using tokens in automated pipelines